Some Art, Music, Drama, and Dance courses require students to hand files in digitally in a way that is not possible (or very cumbersome) when using D2L. As well, some classes also need to provide space for working files. To meet these needs, the IAML has established a file server that is available automatically from all stations within the IAML. It is also possible to connect to the server from other computers on campus, or even off-campus if you are connected to the General UCalgary VPN.
Table of Contents
Connecting from a Lab Computer
Note: These instructions apply both when you are physically at a computer in our Labs and when you are remote-controlling a lab computer.
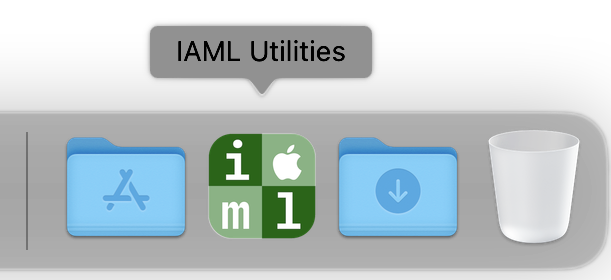
To connect, go to the Dock at the bottom of the screen and click on the IAML Utilities icon near the bottom right.
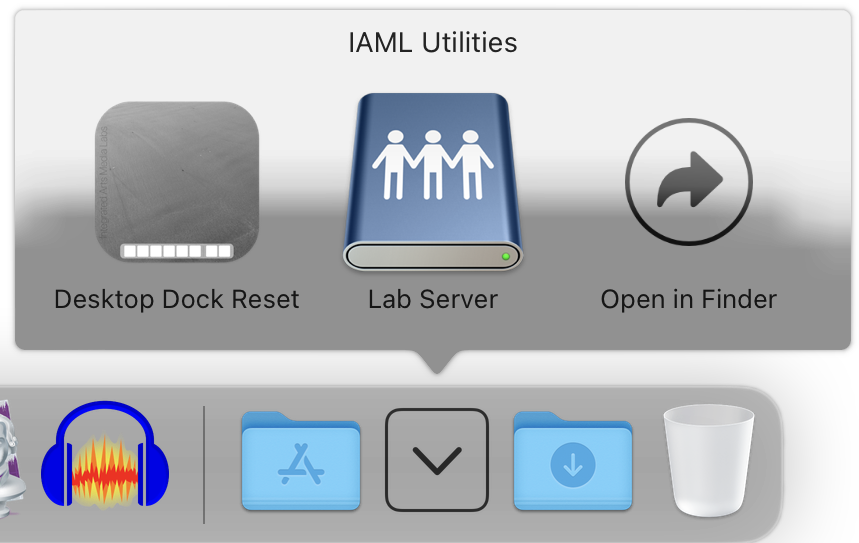
Once you click on it, you will see a pop-up menu of three choices. Click on Lab Server.
This will automatically authenticate you to the IAML Lab Server as a class user. You may be asked to confirm that you want to connect to lab.ffa.ucalgary.ca (you do).
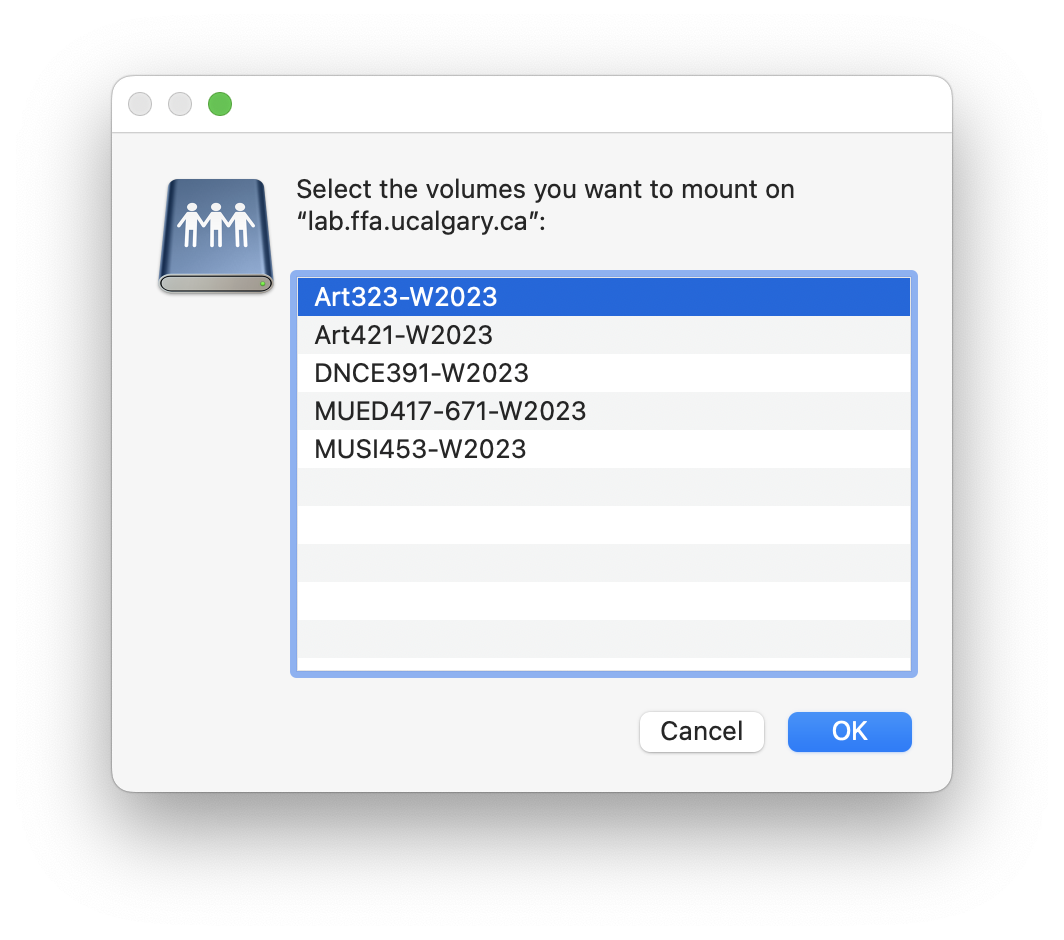
Then, you will be asked to select your class from the list shown. Click on your class and then click OK. (If your class is in the list but is greyed out, you are already connected; you can click Cancel.)

The file share should then mount on the desktop of the Lab computer. Please remember to disconnect when you are done.
Connecting from Another Computer
It is possible to connect to the Lab server from another computer on the campus network, whether that is your own computer or a shared computer. Most commonly, you will do this by connecting to airuc-secure via Wi-Fi. If you are connecting from off-campus, you will need access to the General UCalgary VPN service in order to get on the campus network (if you don’t have FortiClient installed already, instructions are available on the IT web site).
Connecting from a macOS Computer
- Connect to the campus network (via airuc-secure from on-campus or the General VPN from off-campus).
- Go to the Finder (you can do this quickly by clicking on the Smiling Face icon at the left end of the Dock or by clicking on an empty location on the desktop).
- Under the Go menu, select Connect to Server… (or press Command-K). A window named Connect to Server should appear.
- In the box at the top of the window, type the following, then press Return (or click the Connect button): lab.ffa.ucalgary.ca
- You may be asked to confirm that you are attempting to connect to lab.ffa.ucalgary.ca. Click on the Connect button or press Return to proceed.
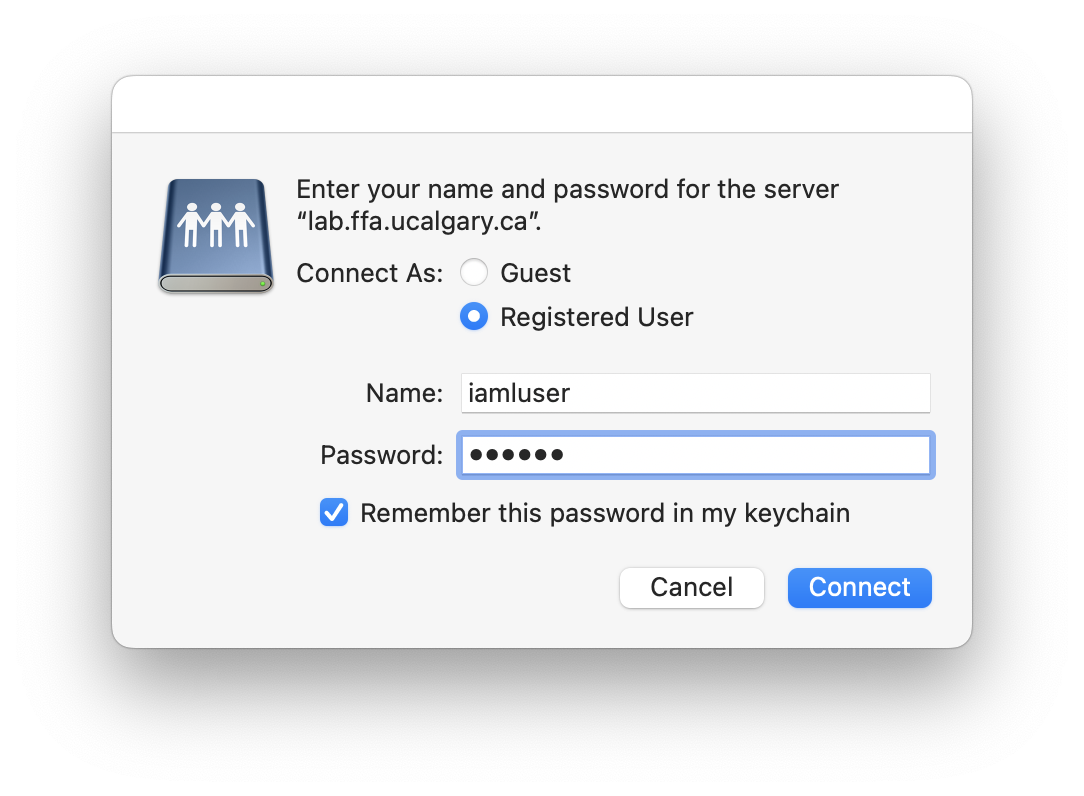
- You will be asked for your username and password. Your instructor will provide you with this information (the username will begin with “i”). If you wish to skip this step on future logins, check “Remember this password in my keychain”.

- You will be asked to select your class from the list shown. Click on your class and then click OK. (If your class is in the list but is greyed out, you are already connected; you can click Cancel.)
Your file share will then be connected to your Mac. If you have macOS show any connected drive, it will show up on your desktop. If you don’t, it will show up in the sidebar of any Finder window.
Please remember to disconnect when you are done (e.g., in the left sidebar of a Finder window, click on the Eject icon beside lab.ffa.ucalgary.ca, or right-click on the shared disk icon for your class on the desktop and select Eject).
Connecting from a Windows Computer
After connecting to the campus network (airuc-secure or via the General VPN), follow the instructions on the IT Knowedgebase page “Network Drives – How to map or connect to an existing network drive or file share” on how to Map the Network Drive. The section you need to do first is not at the top of the article. Scroll down to “To Map the network drive:”, then follow the instructions with these adjustments:
- The Path to the shared drive will be \\lab.ffa.ucalgary.ca\Sharename where Sharename will be the name of your class and the term the class is offered. For example, Art336-F2021 is the share name for Art 336 in the Fall 2021 Term. (Note: If that does not work for you, try using the Server’s IP address instead: \\136.159.206.7\Sharename)
- Instead of entering your UC username and associated password, you will enter the information provided by your instructor (the username will begin with “i”). You may check “Remember my credentials” after you enter this password to skip re-entering this in the future.
Once you have the drive mapped, then go back to the top of that article to see how to mount the network share.
Please disconnect from the server when you are done (e.g., in Windows Explorer, under This PC, right-click on the appropriate Network location and choose Disconnect from the menu).
Using the AssignmentDropBox
In each class folder, there will be a folder named “ AssignmentDropBox” at the top of the list. This is where you will hand in your assignment as determined by your instructor.
This folder is a Drop Box. This means that, much like a postal mailbox, you can put things in it but you cannot see what is inside. When you copy your file(s) to the AssignmentDropBox to hand in your assignment, you should drag your file(s) onto the AssignmentDropBox folder. If you try to open the AssignmentDropBox folder before copying your file(s), you will get a message like this on a Mac:
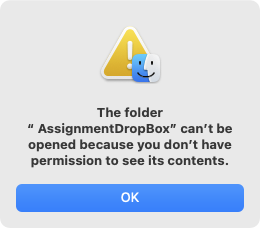
…or like this on Windows:
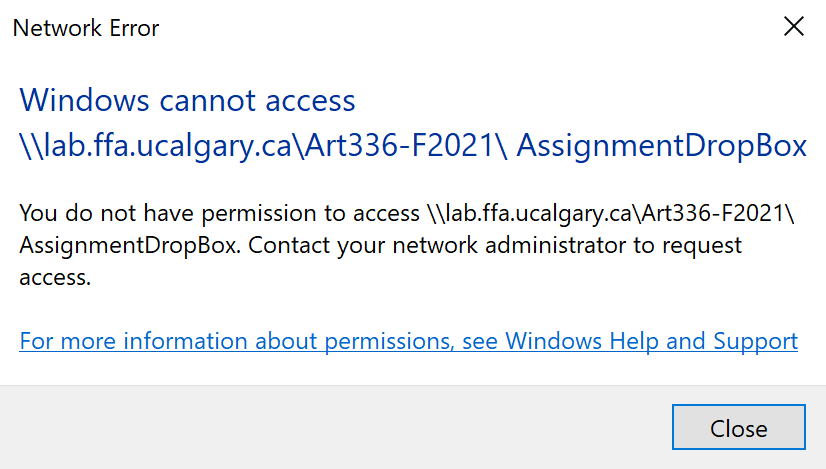
This is exactly how we want it to work. You can’t see other students’ assignments. So you must drag your file(s) onto the folder without opening it.
If you are successful, you will be greeted with a different message. The message is similar on Windows and Mac. Here is the Mac dialog box:
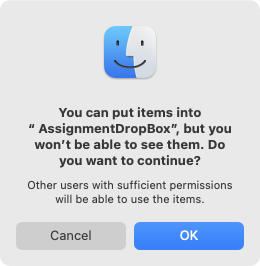
Click OK and your assignment will be handed in.
